Well, I didn’t mean for it to be over three years since I last posted an update to this website, but here we are!

To build your LGMS table risers, you will need: some 1 & 1/4” PVC pipe, 1 & 1/4” PVC caps (I forgot to take a photograph before I connected the caps to the pipe sections) some 1/4-20 threaded rivet nuts, some 1/4-20 threaded adjustable foot inserts, a PVC cutting tool, a power drill with a 23/64 drill bit, and some superglue. I will provide links to these items at the bottom of this article.
Early 2020 marked my last days of displaying a large LEGO® train layout on my own. Since then, the vast majority of my public displays have been with my local LEGO® Train Club, or with a group displaying under the L-Gauge Modular System banner. LGMS is similar to conventional model railroad modular standards such as N-trak and Free-Mo, allowing anyone to build a compliant module and display it with other participants. For more information, visit lgms.org.
One of the difficulties of LGMS is the need for participants to provide their own benchwork. Many users have found that 30x60 inch plastic folding tables from restaurant supply stores fit the bill, however they’re a bit lower than they need to be to meet the 32 inch railhead height specified by LGMS. Also, these tables need to be height-adjustable (plus or minus one inch) to deal with uneven floors at shows. What’s more, however you raise your tables, your method needs to be robust enough that it can handle someone bumping into the table, or being moved/adjusted by other participants if you happen to not be available when it needs moving/adjusting. This means blocks and shims aren’t allowed. Now, ask a different person and you’ll get a different answer, but I feel it pertinent to share MY method of raising my LGMS tables. So let’s get started!

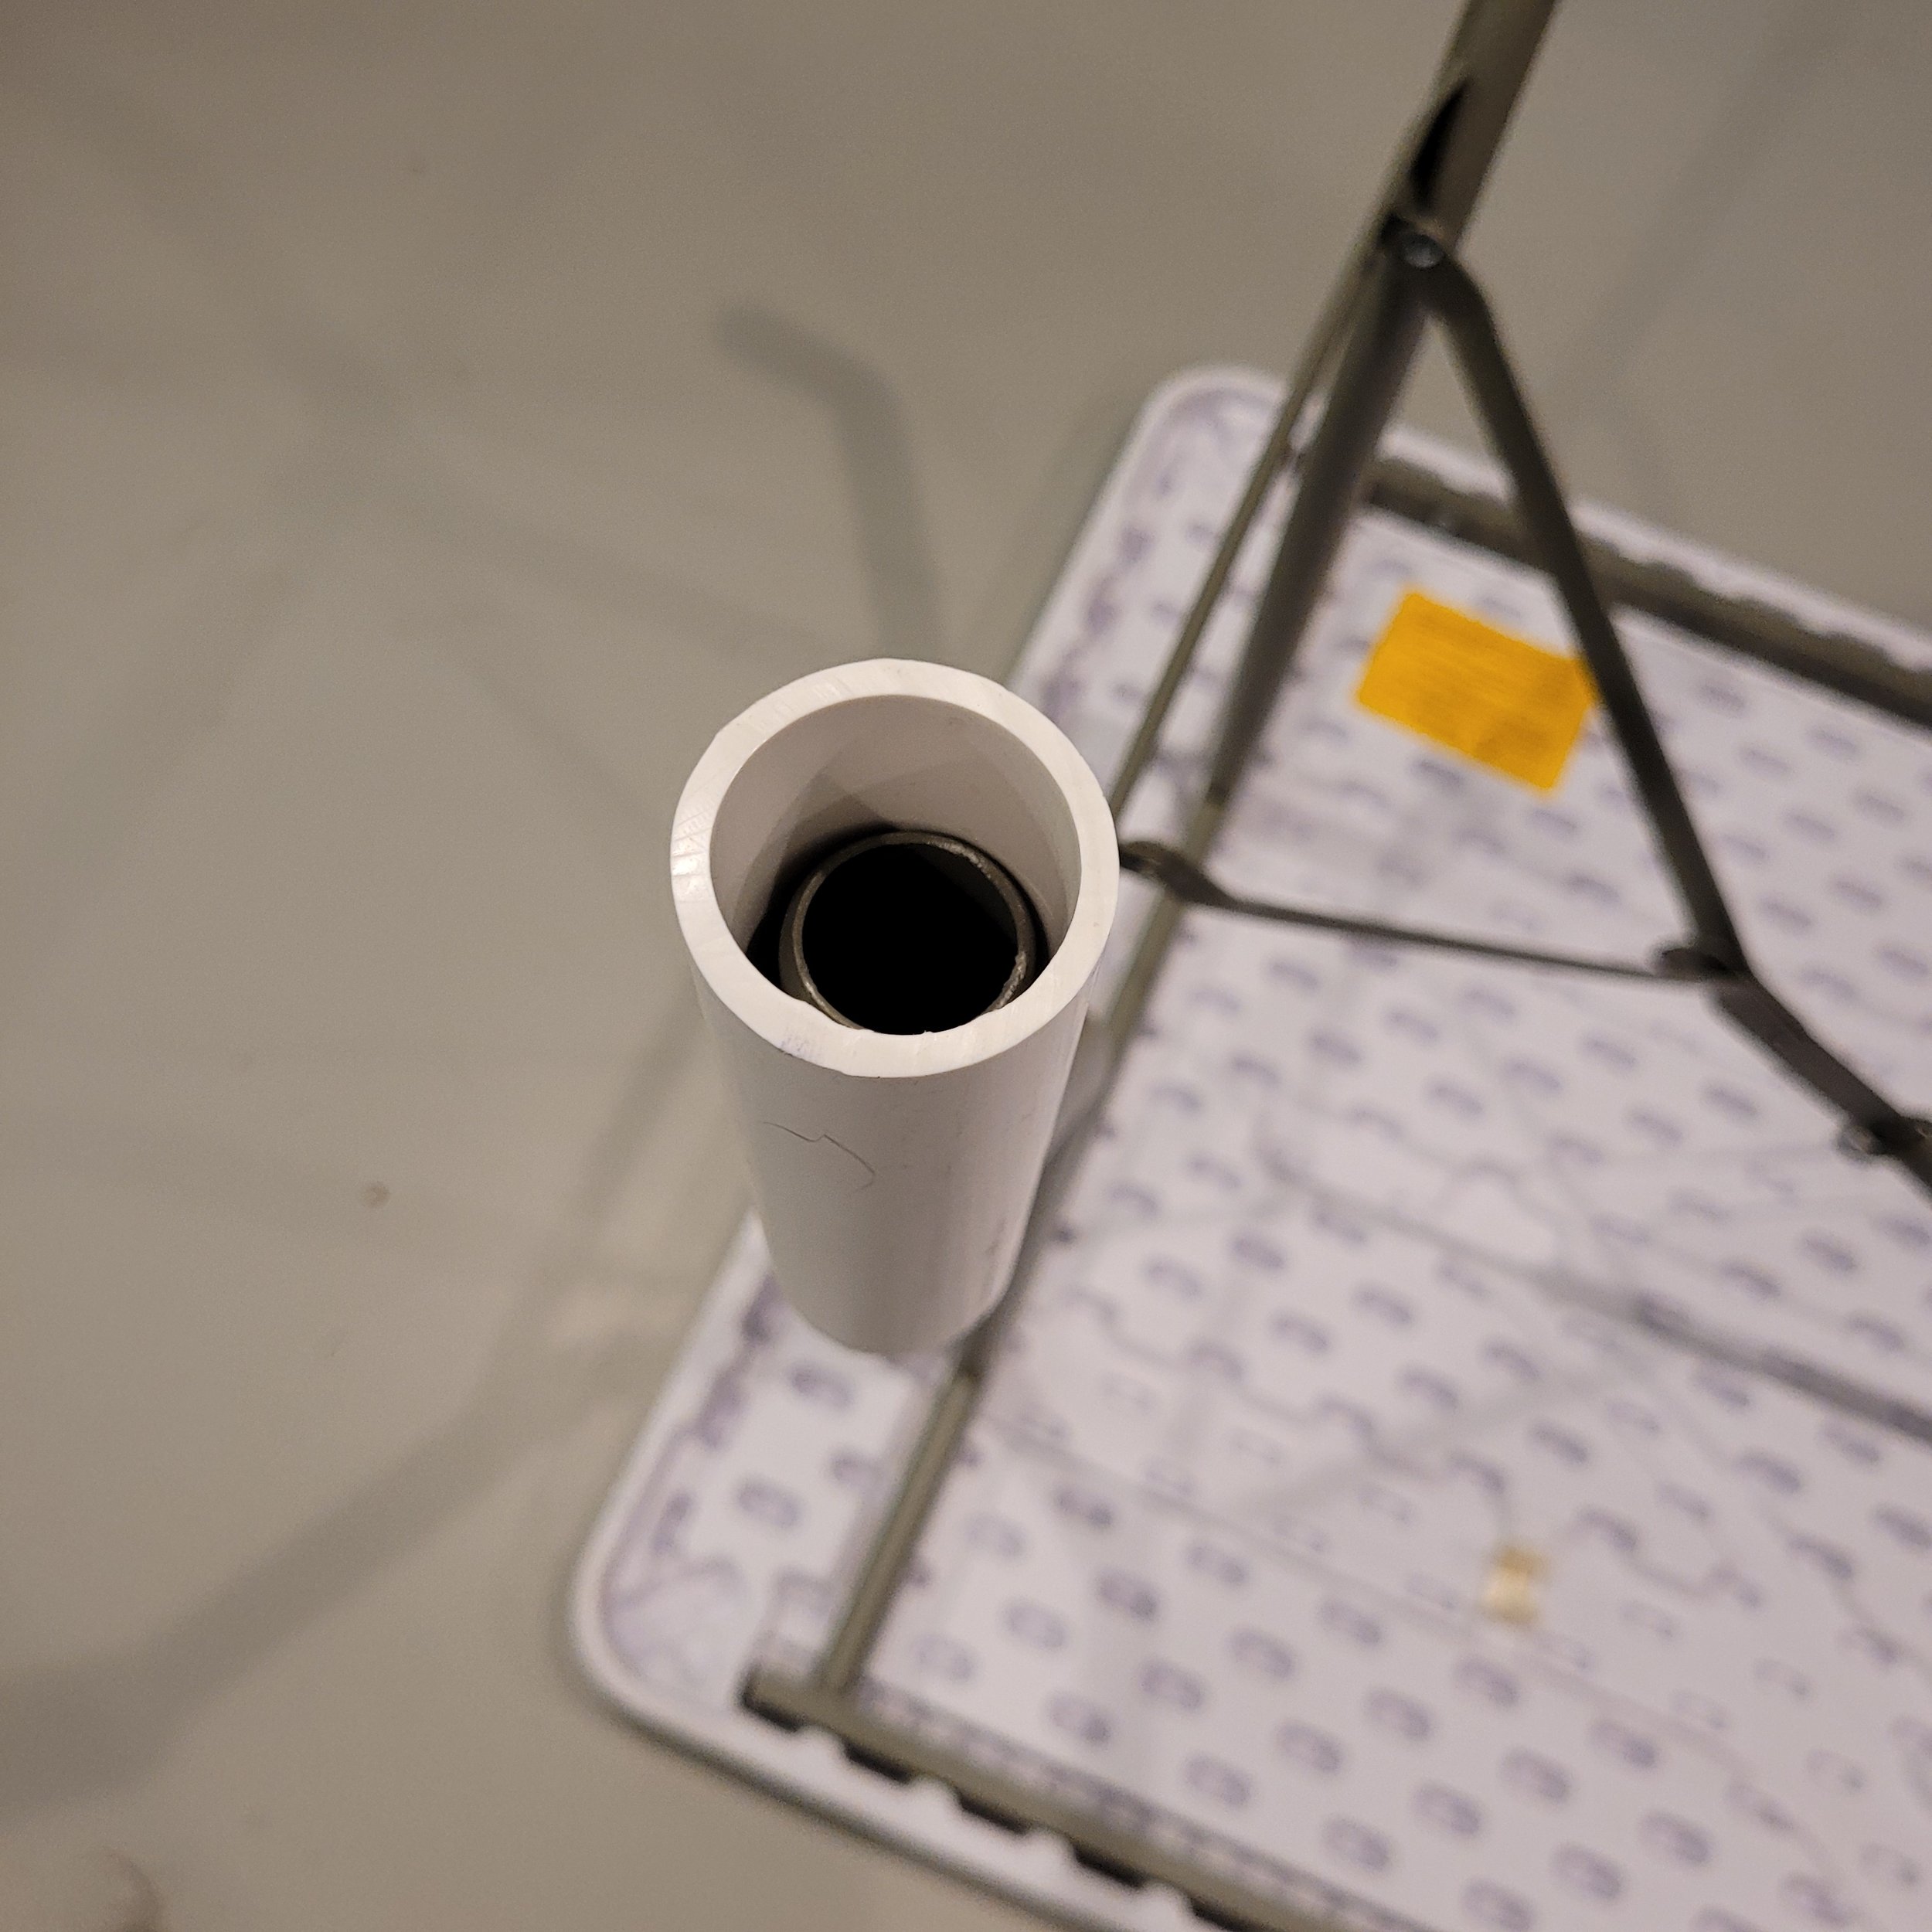
The first thing to do is remove the plastic feet from the bottom of your tables. This will allow the threaded foot insert to travel up inside the metal leg, rather than having the plastic foot sitting on top of the threaded foot insert.
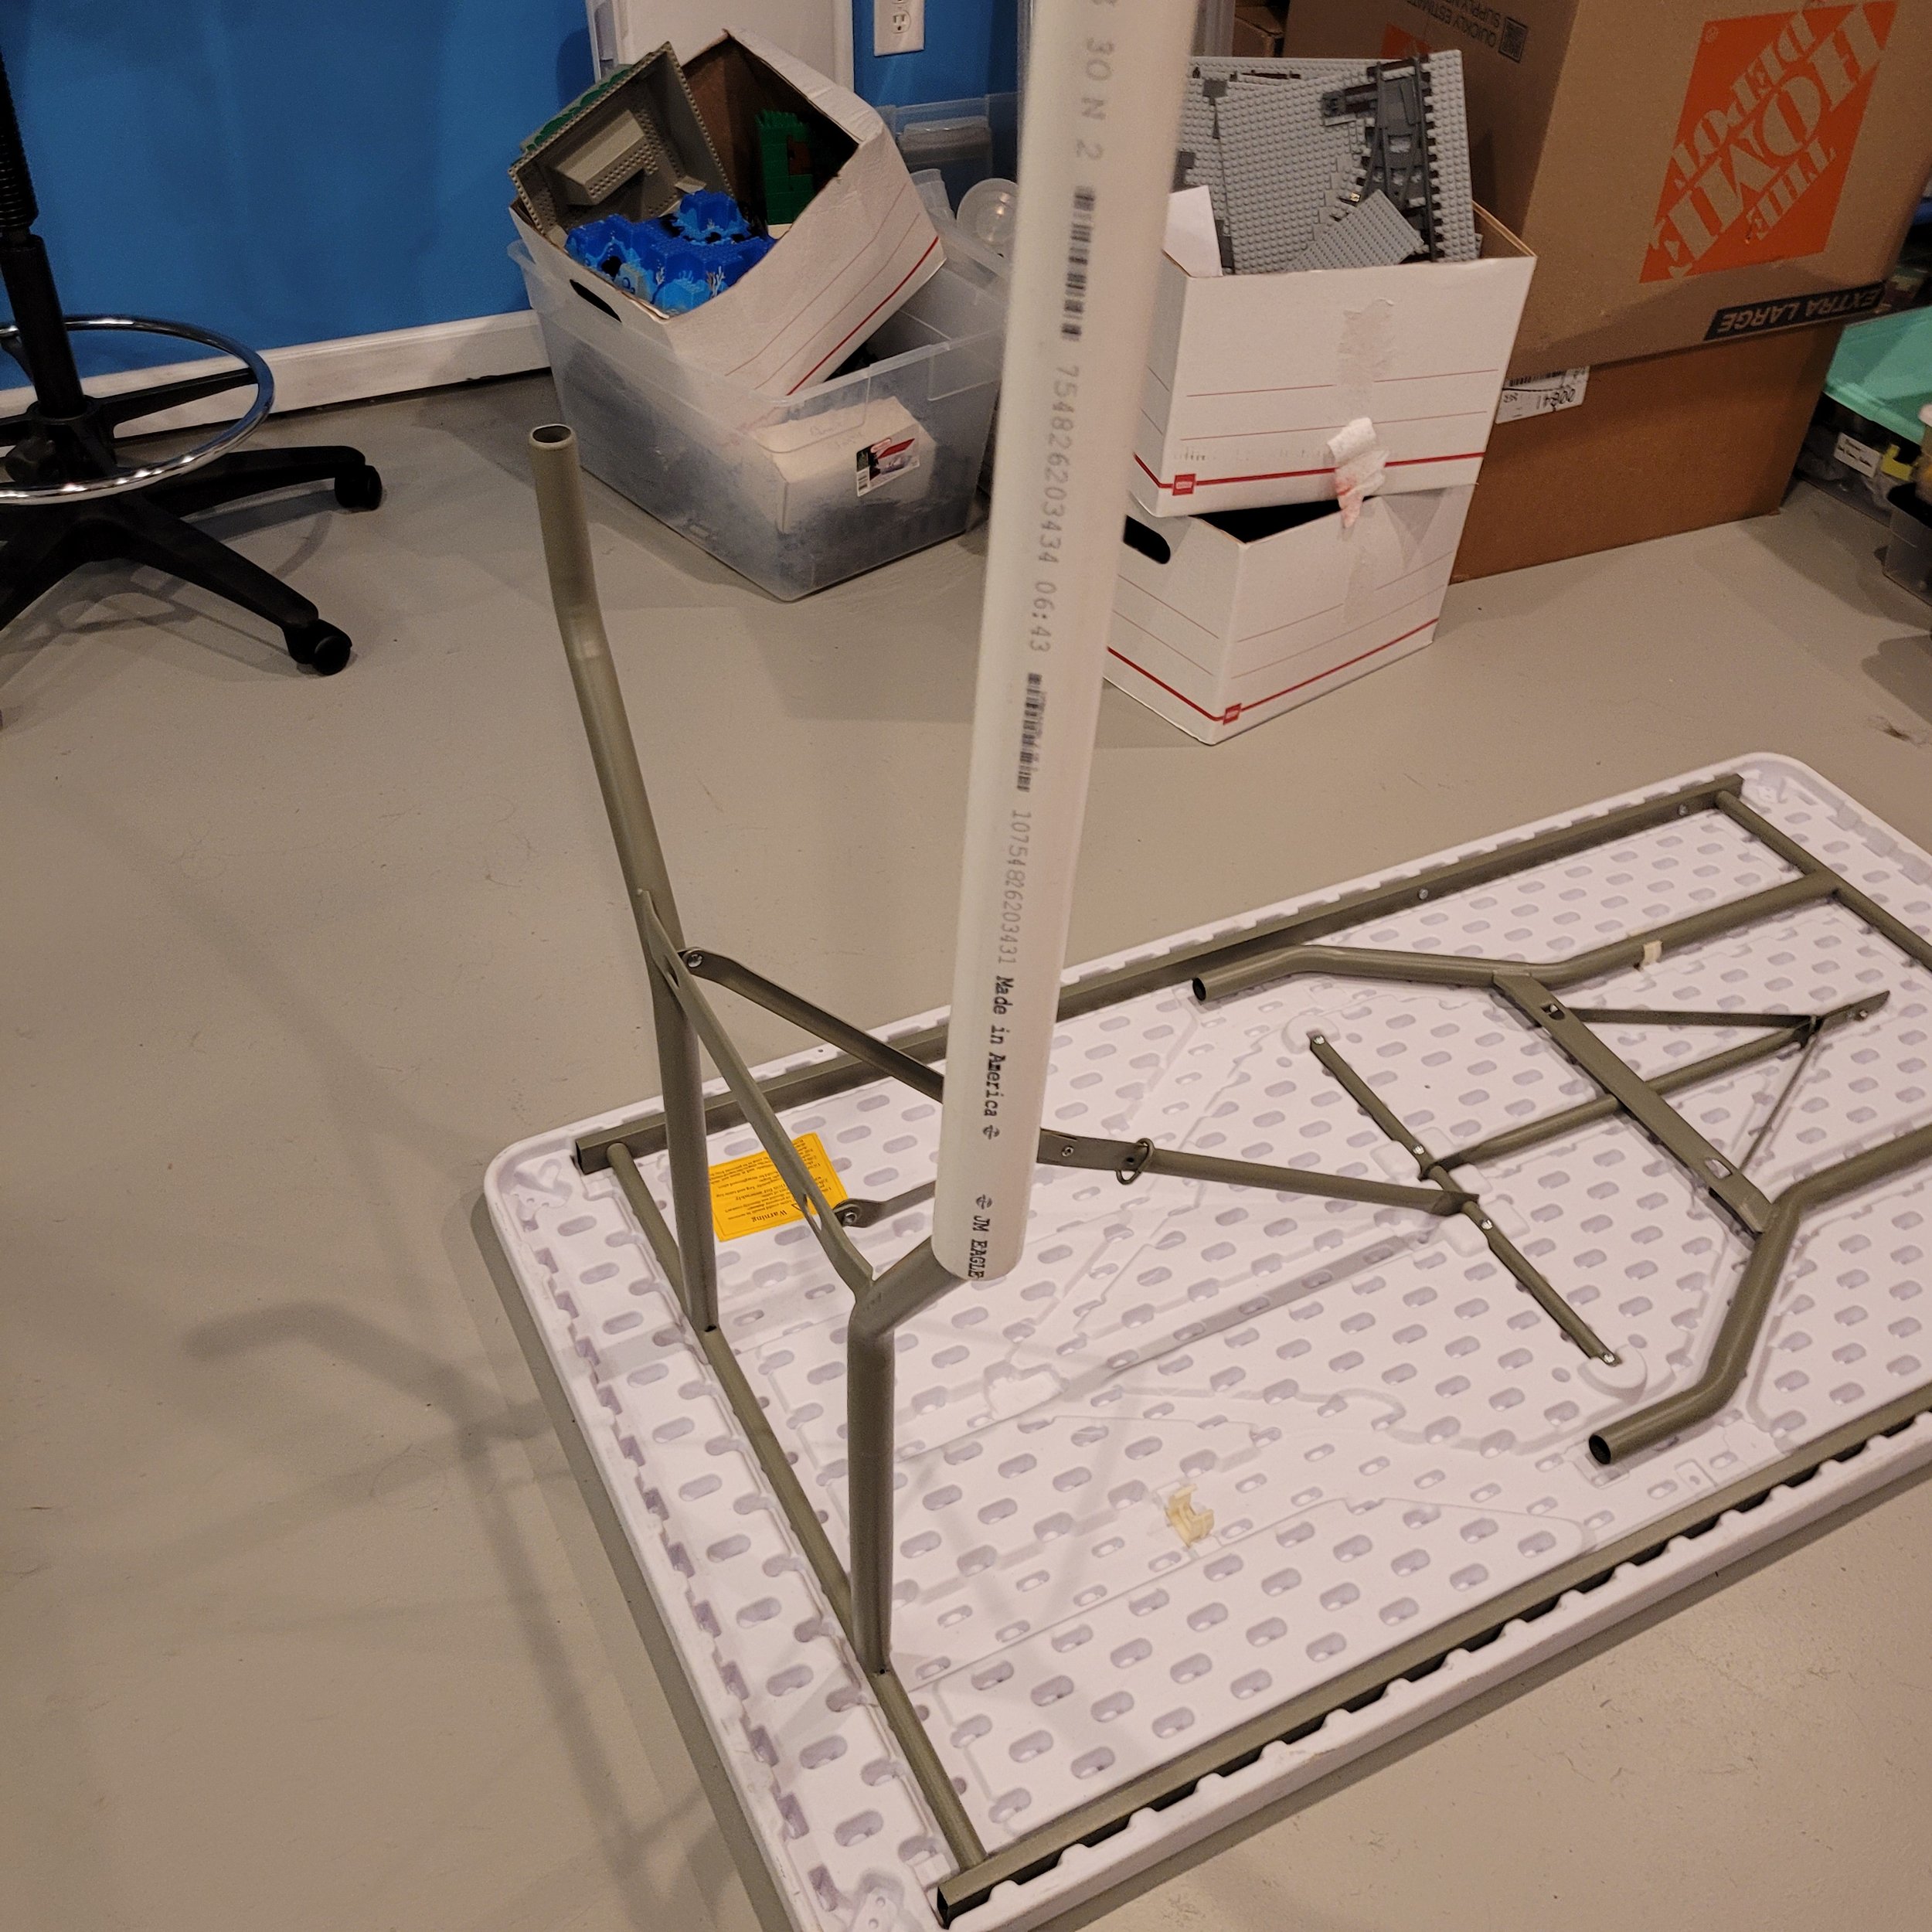
Take a length of your 1 & 1/4 inch PVC and place it over the leg of the table. Mark a height of 32 inches, the specified railhead height for LGMS.

Now, subtract an inch from that 32 inch mark to allow for height adjustability. Following that, Take your ballasted track and subtract its height from the new 31 inch mark. If you are on MILS, the Modular Integrated Landscape System (which is NOT required for LGMS) you’ll end up with a cutting mark at about 6 inches of PVC pipe. In my case, my non-MILS ballasted track gives me a cutting mark at about 6 & 1/2 inches of PVC pipe. Note that your measurements may differ depending on the leg construction of your folding table, among other factors.


Now that we have our PVC measurement, we can cut 4 pieces from the PVC pipe. These cuts don’t need to be super-precise, but try not to stray more than a quarter of an inch off the mark.

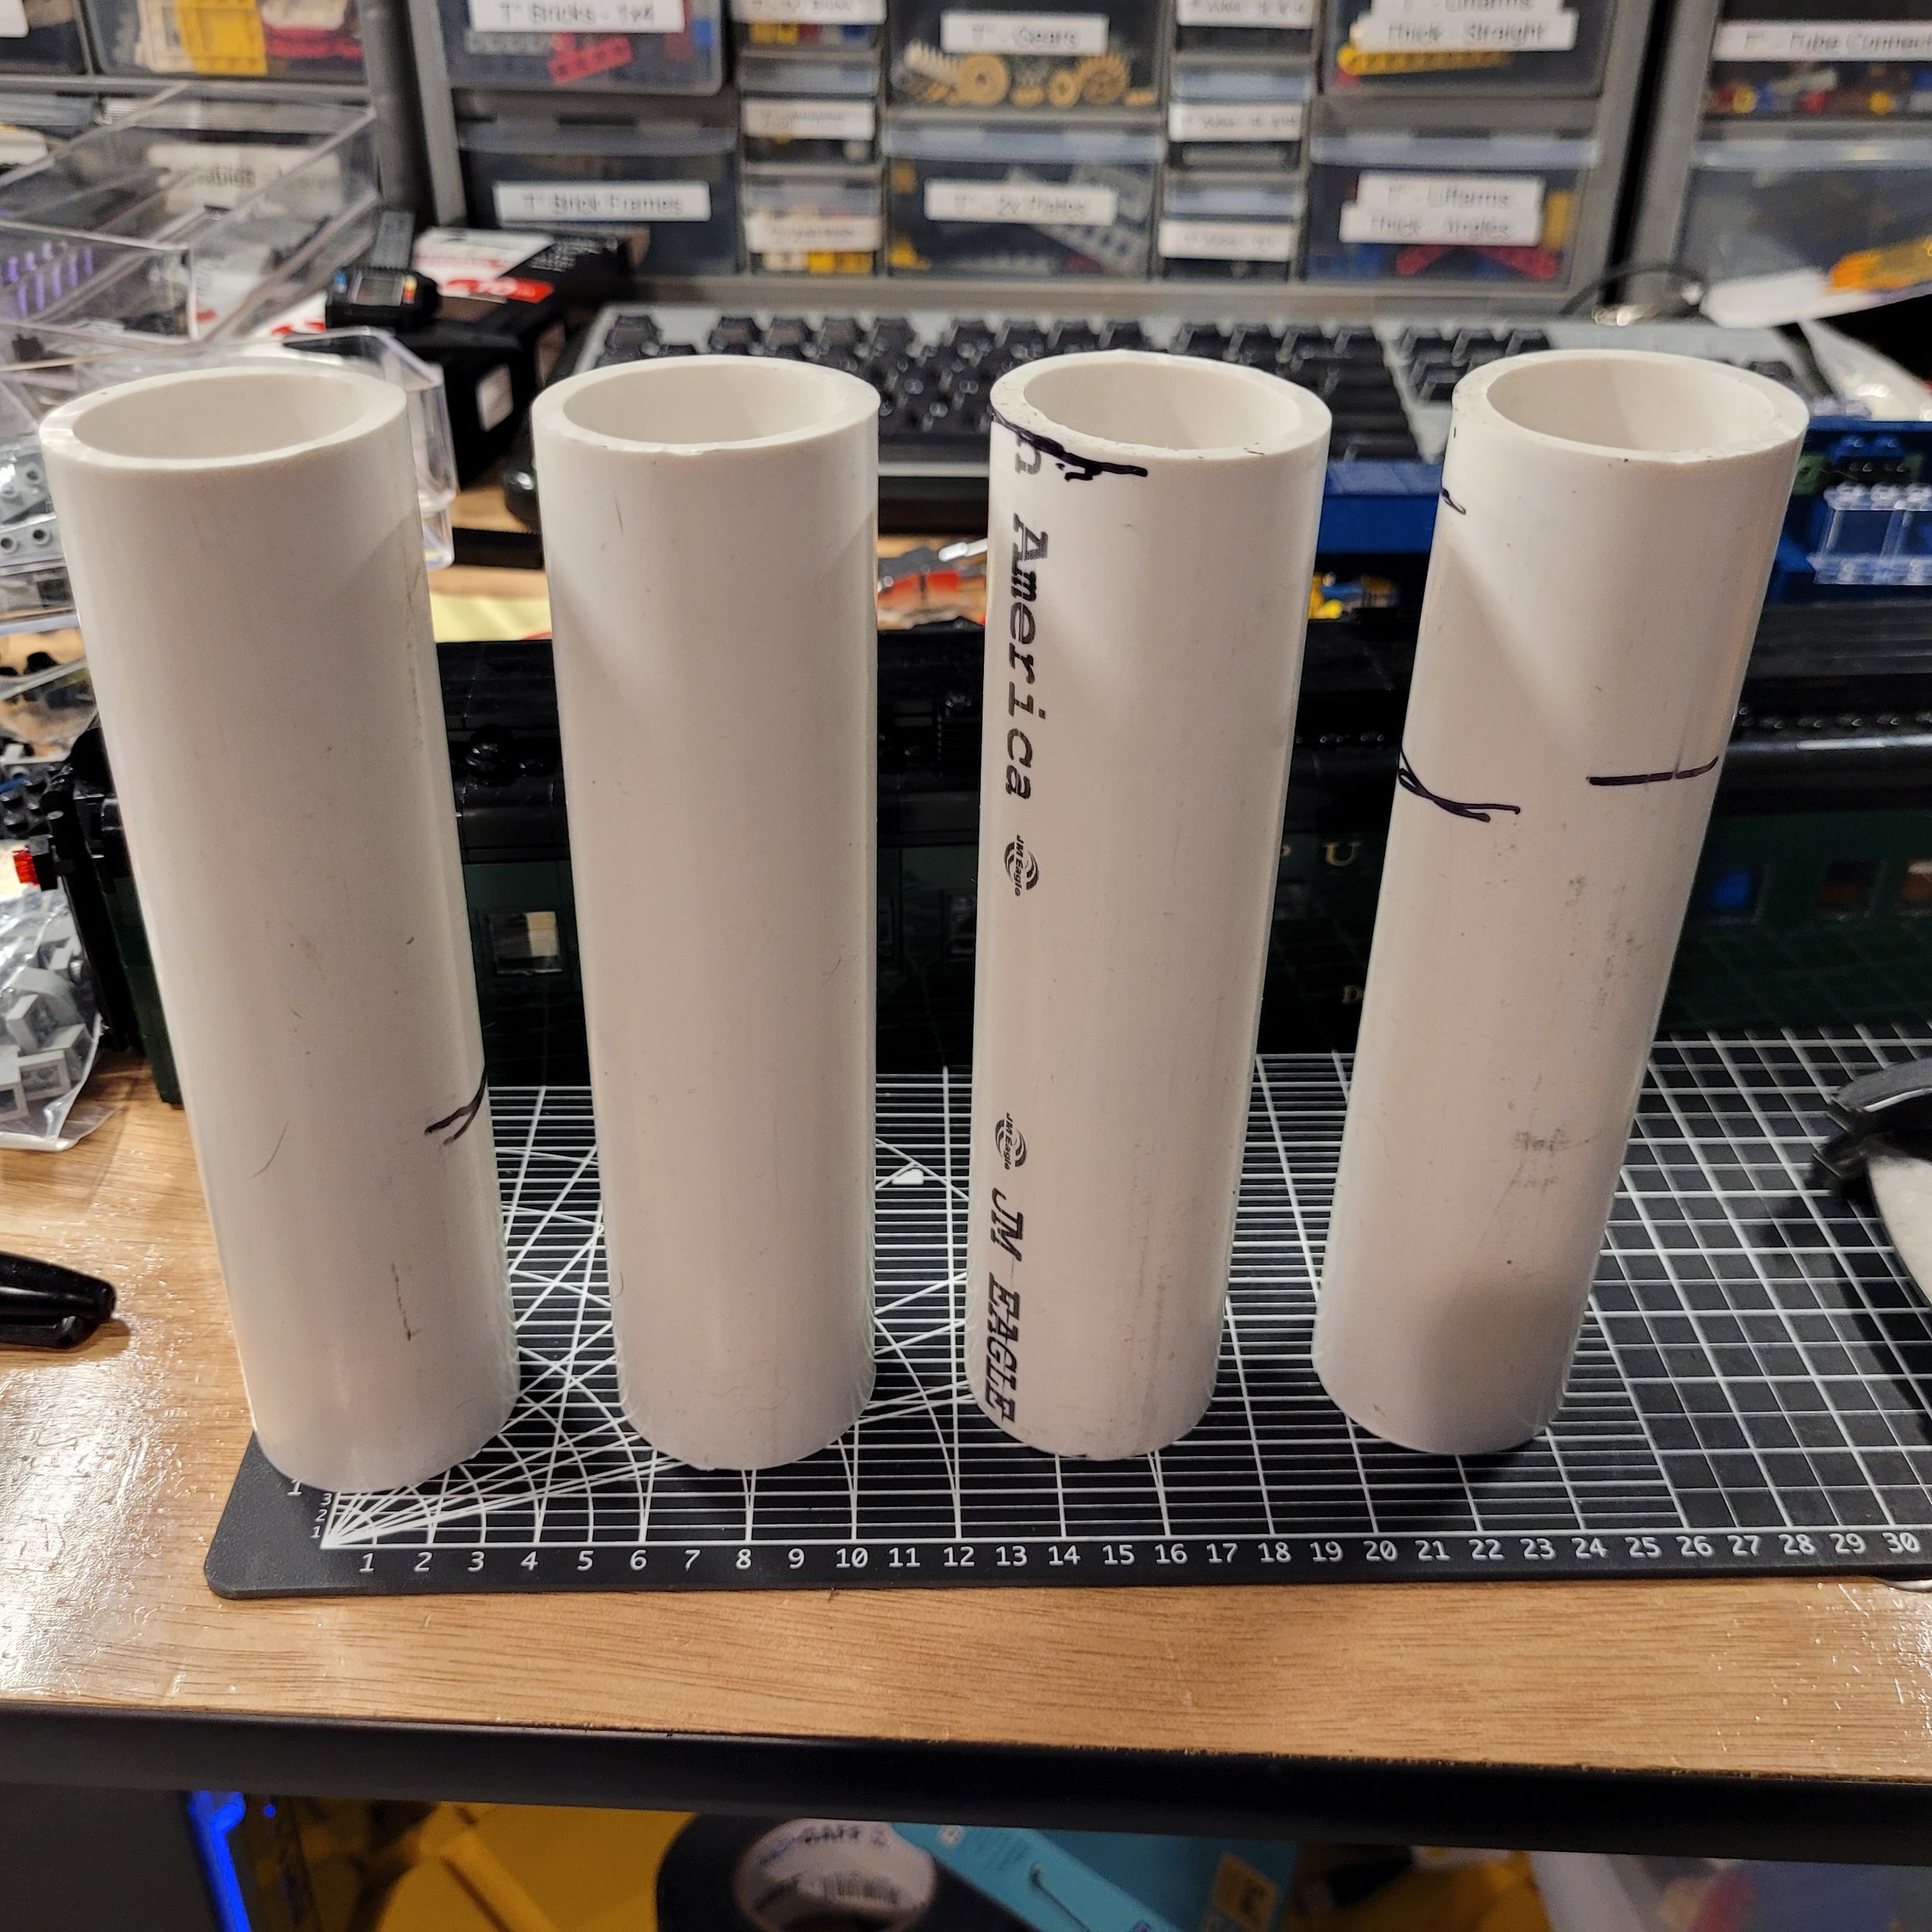
As you can see from the last image, the tables don’t need a LOT of PVC to raise them to the correct height, but they do need a bit!
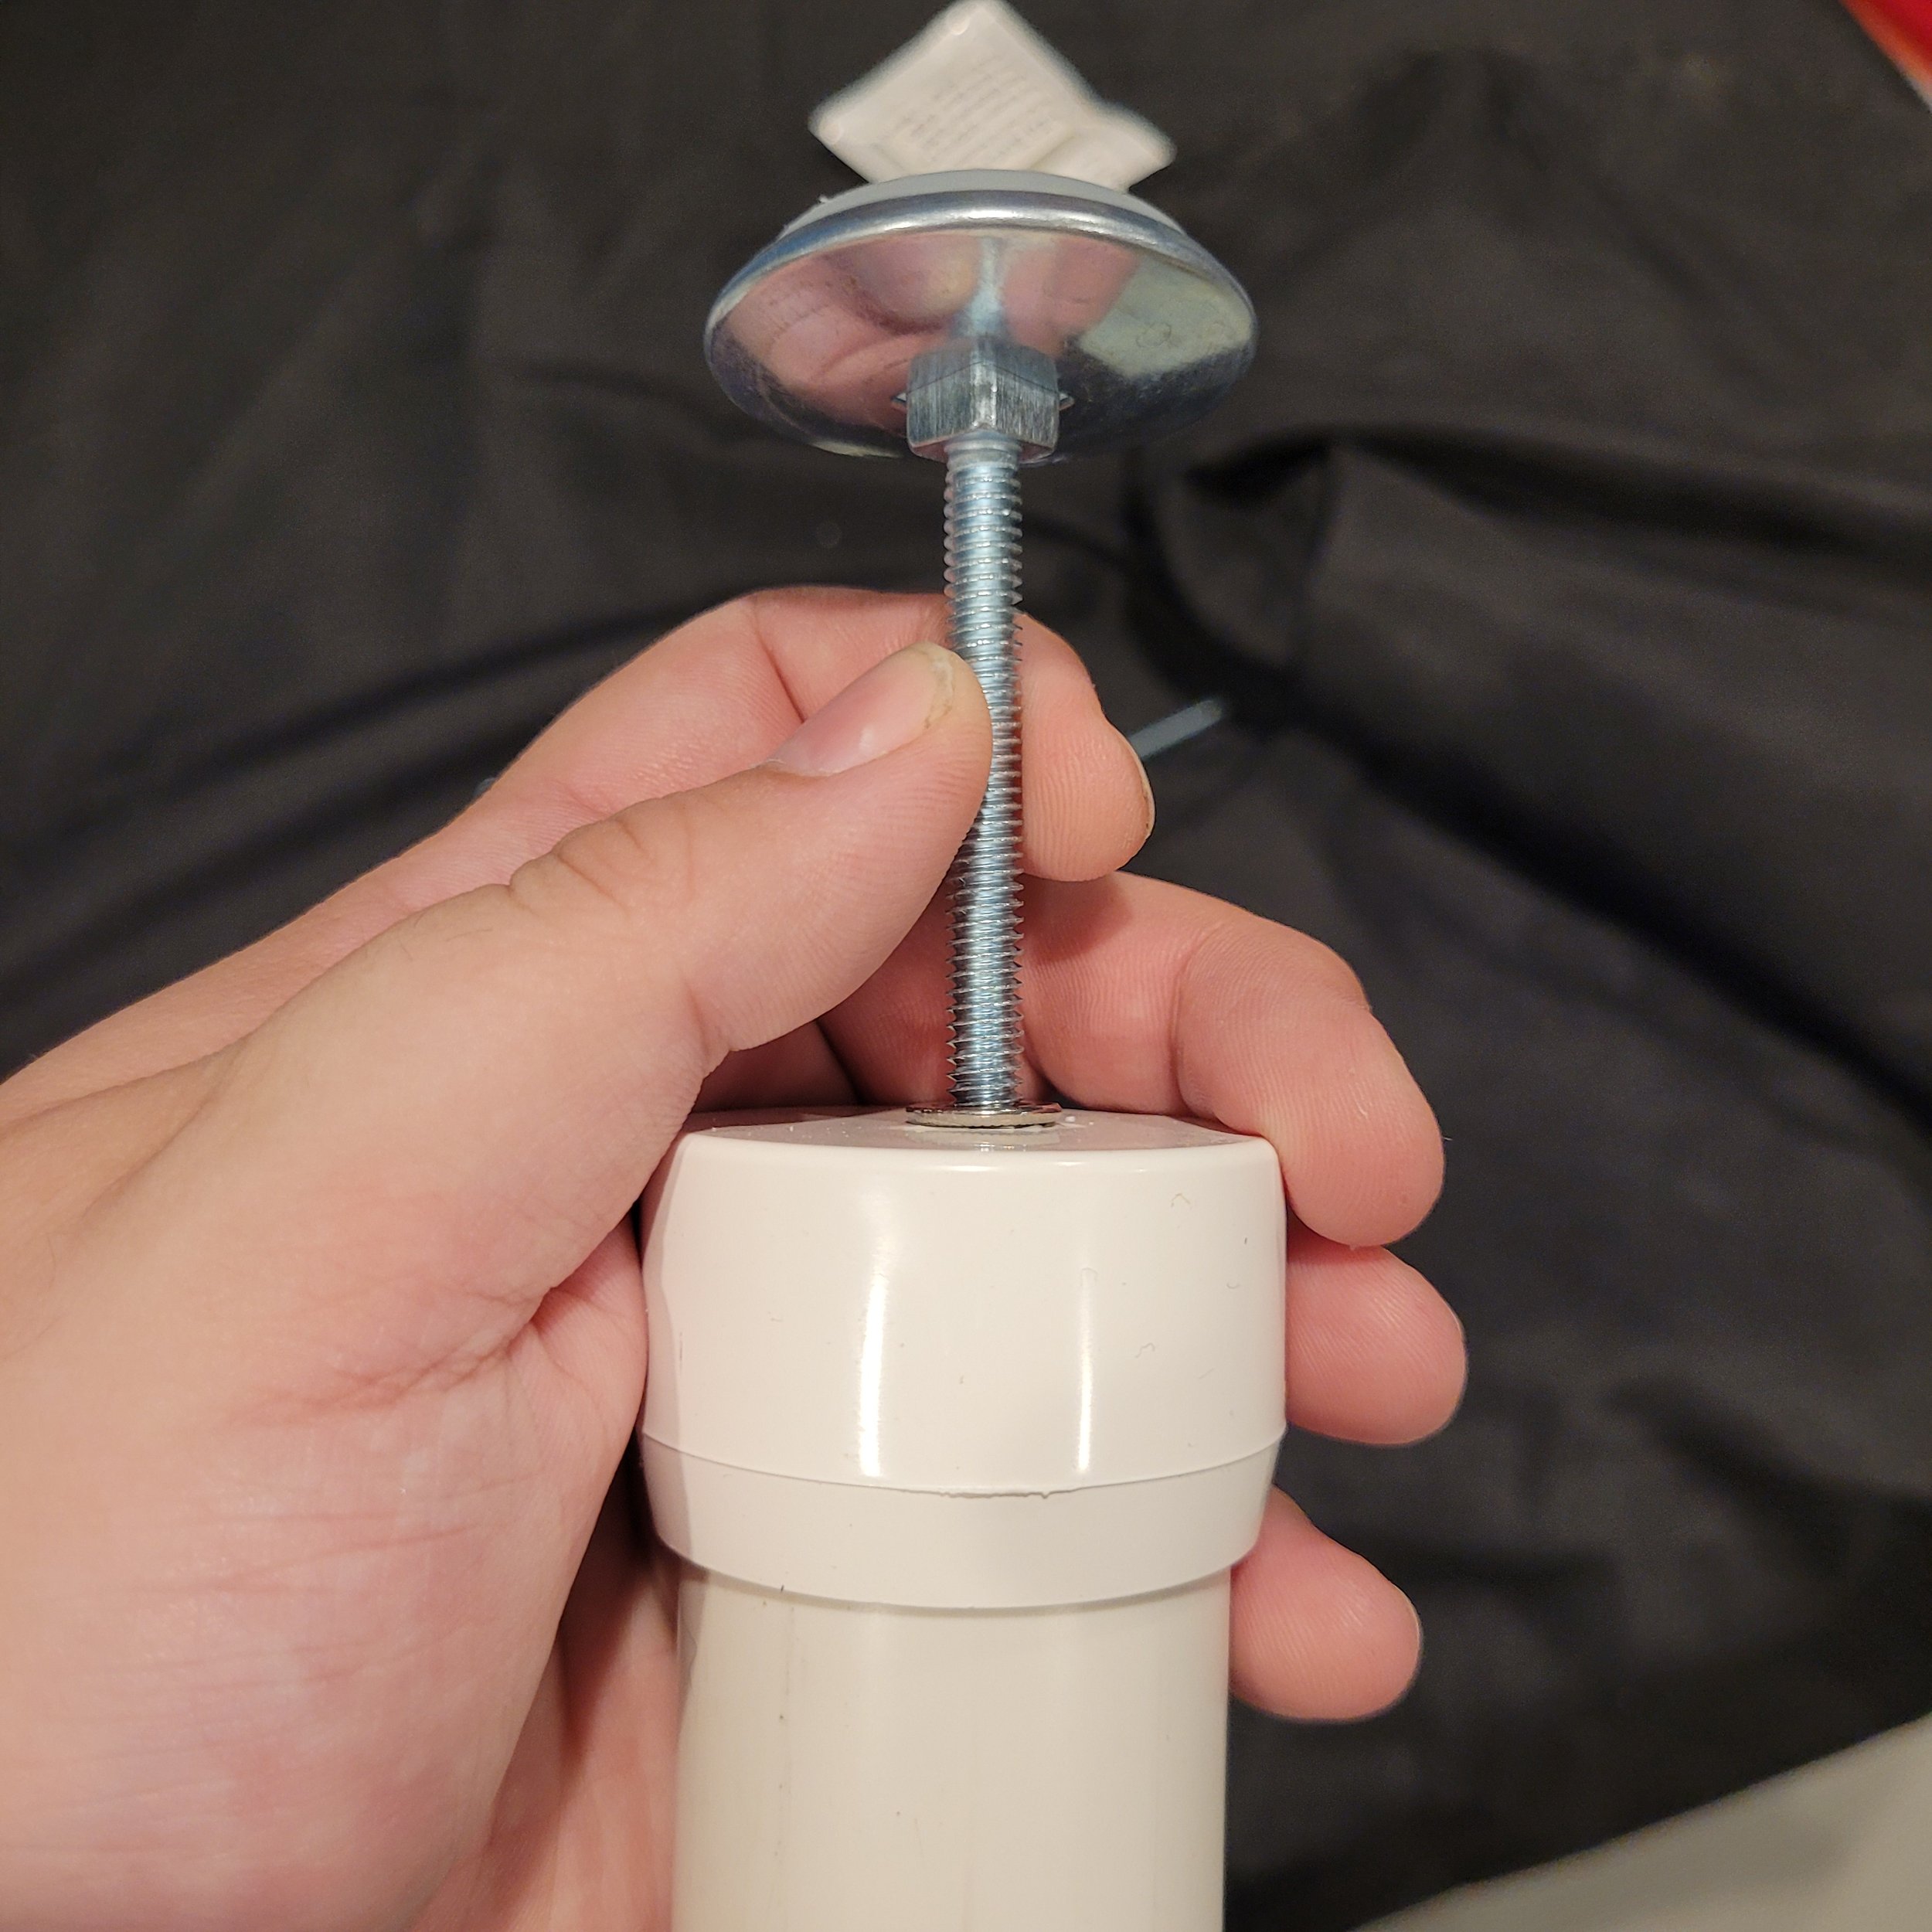
Now that we have our four cuts of PVC (if you’re making risers for multiple tables, you will of course need four risers per table) add a PVC end cap to each one. I find that these are a press-fit, no glue required. Once the cap is attached to the PVC pipe length, take your power drill with the 23/64 inch (this is the measurement specified for the rivet nuts I bought, if you use different rivet nuts, you may need a different hole size) drill bit and drill a hole in the center of the cap. If you’re a little off from center, it’s fine.

Now, add some superglue around the edge of the freshly drilled hole, and pop a rivet nut in there. Make sure you don’t get any superglue on the inside of the rivet nut, where the threads are.


Once you’ve allowed sufficient drying time for your superglued rivet nuts, you can spin the threaded foot insert into the rivet.

And that’s it! Now we have a set of risers to raise our plastic folding tables up to the specified LGMS height. To apply, simply set up your folding table as normal, then lift one end of the table to place a riser under each leg, and repeat at the other end of the table.

I’ve been using these table risers for a couple of years now, entirely without incident. Again, ask another LGMS participant about how THEY raise THEIR tables, and you’ll get a different answer, this is just the method I’ve found that works best for me. Below are some links to the threaded rivet nuts and the threaded foot inserts I use. Everything else you need should be easily found at your local hardware store. Thanks for reading!
Threaded rivet nuts (1/4-20):
https://www.amazon.com/dp/B077GQLQZ8
Threaded foot inserts (1/4-20, 2 & 1/2 inches):
https://furniturelevelor.com/product/475-k-poly-pro-base/
Footnote: I use longer lengths of PVC pipe to raise my home workbench folding tables to a comfortable working height (for 6 foot tall me) of 42 inches. If it’s good enough for my friend who works in catering that recommended this technique, it’s good enough for me!